The PVM has as Web Interface accessible via web browser. To find this interface, we need to know the IP address of the PVM on the local network. This can be done by using the Config Tool supplied by the manufacturer. You can download the Config Tool HERE.
Step 1 - Finding The PVM
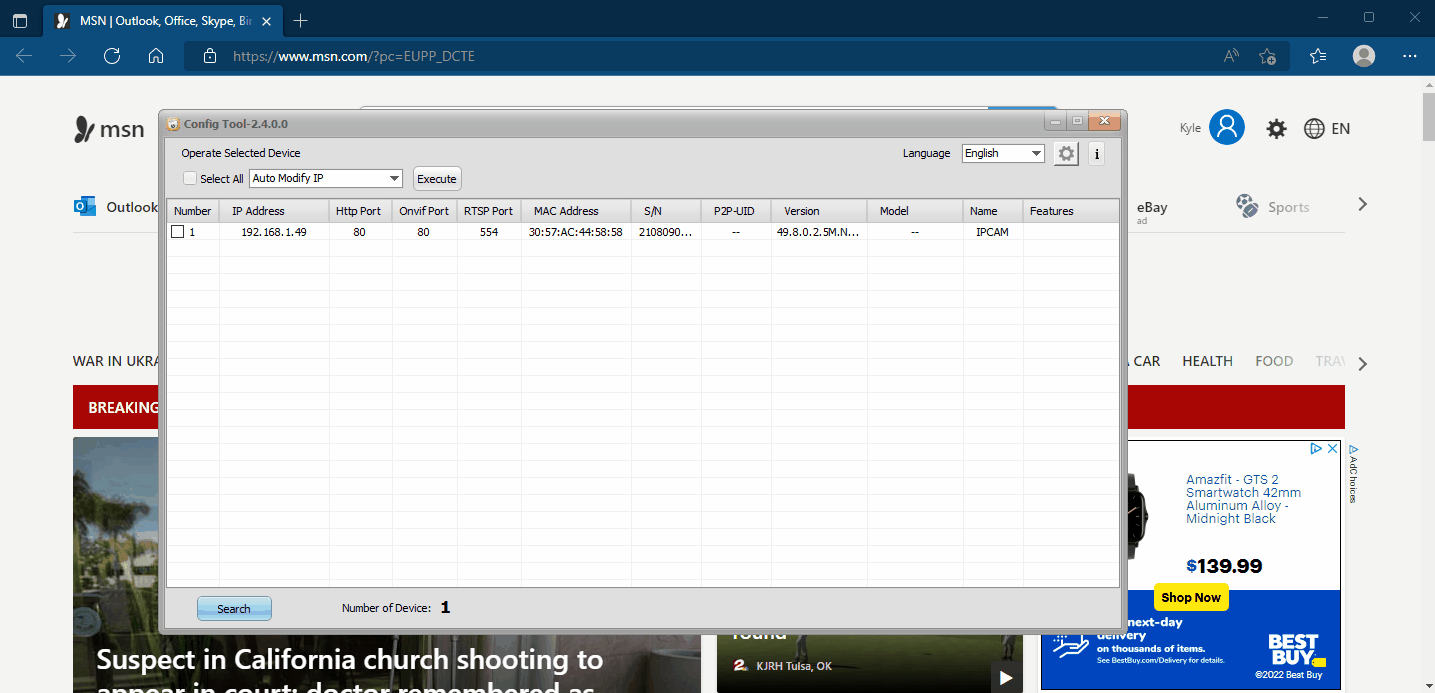
After the Config Tool has been installed and running, Click the Search Icon on the bottom left corner: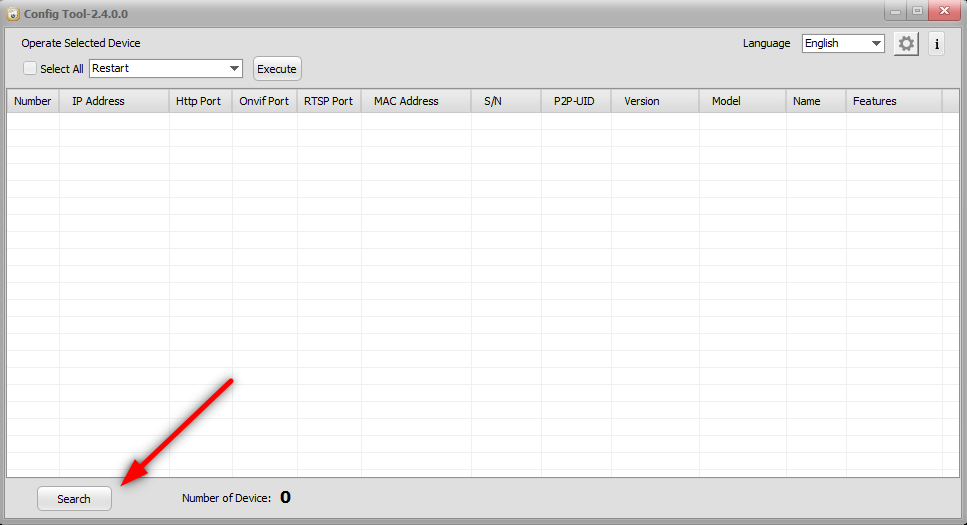
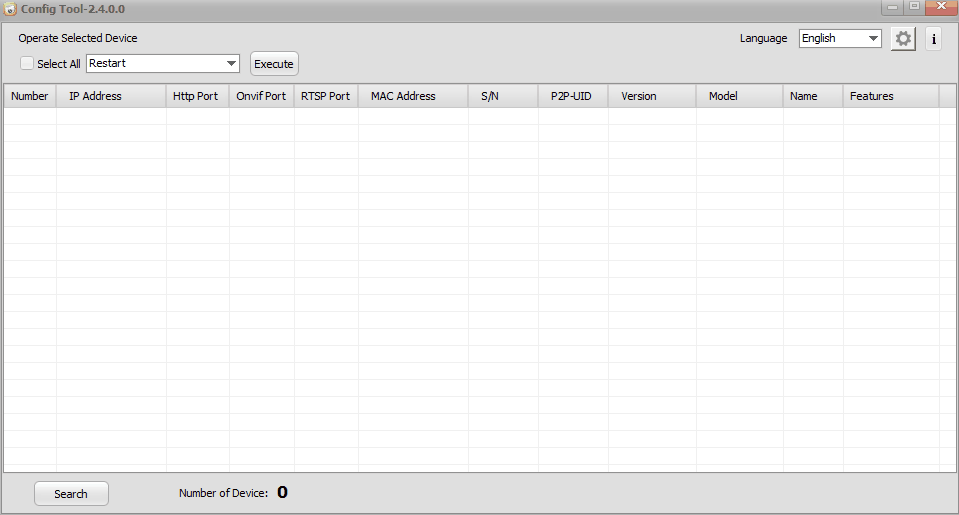
If your PC is on the same local network as the PVM, the PVM should appear in the device list on the Config Tool Software:
By default, the PVM IP address is 192.168.0.60. If you need to set a new IP address to the PVM before being able to access it, checkmark the PVM in the Config Tool, then select Auto Modify IP and Execute. Afterwards, a new popup window will appear to input IP info or even enable DHCP for the PVM to pull a new IP address from the network. In this example, we are going to enable DHCP: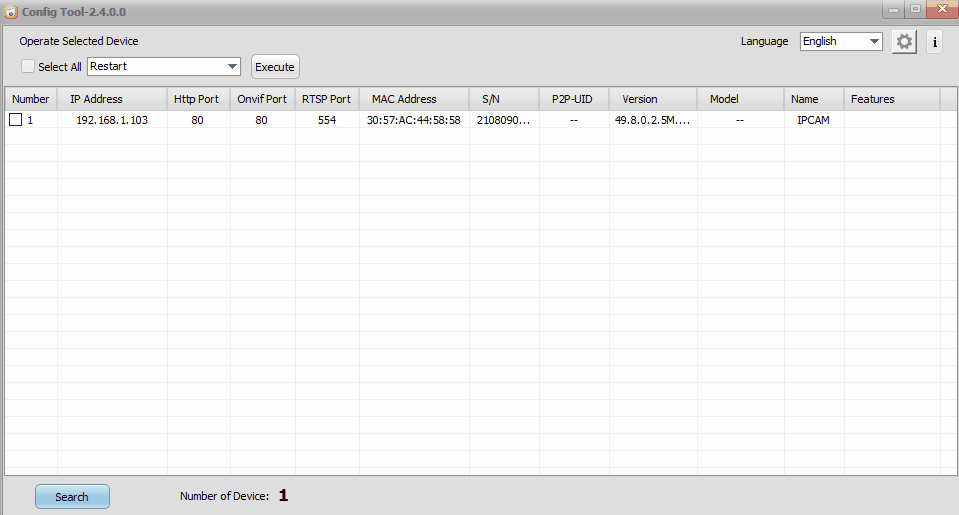
Step 2 - Accessing The PVM
Once a suitable IP address is set to the PVM, it can now be accessed from a local PC via web browser!
To do so, take the PVM's IP address and type it into the address bar from a web browser. Then hit enter. Afterwards, a login page should load up. After signing in, the Live View of the PVM will appear. From this interface, you can also do all of the configuring of the PVM camera as well.