The PVM has an "Ad Mode". Ad Mode allows the PVM to display a logo / image via MicroSD Card whenever no motion is detected by the PVM's PIR sensor for an alloted period of time. Then once motion is detected, then the camera live view will appear.
SD Card Setup
Please Note:
- The monitor can support the following image formats - AVI, MP4, MOV, JPEG, BMP.
- Max supported resolution is 1920x1080@30fps.
- Max Capacity SD Card Supported is 32GB
- The MicroSD Card MUST be formatted FAT32 before getting started
After you have formatted and then uploaded your image to a microSD card, it can then be inserted to the PVM!
The PVM has 2 MicroSD Card slots, one for the camera footage storage, and the other is for the Ad Mode / Media playing.
The Media SD Card slot for Ad Mode will be on the backside, next to the video inputs:
Getting To Ad Mode
As soon as you boot up the PVM, the live view will appear.
With the included remote, press the Menu button: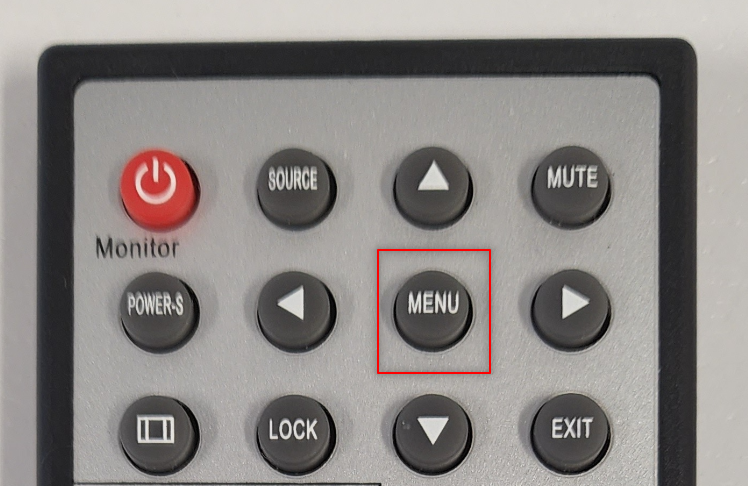
Afterwards, the popup interface will appear:
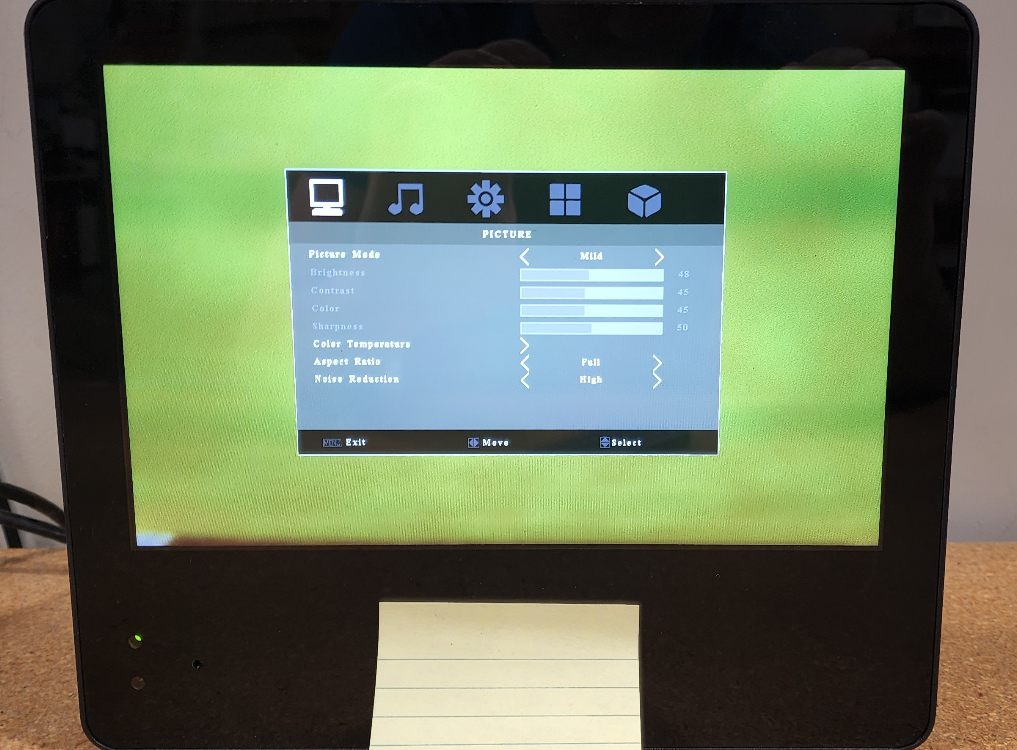
Using the Arrow Buttons around the Menu Button on the Remote, Navigate to the far right "PVM" Icon across the top of the window.
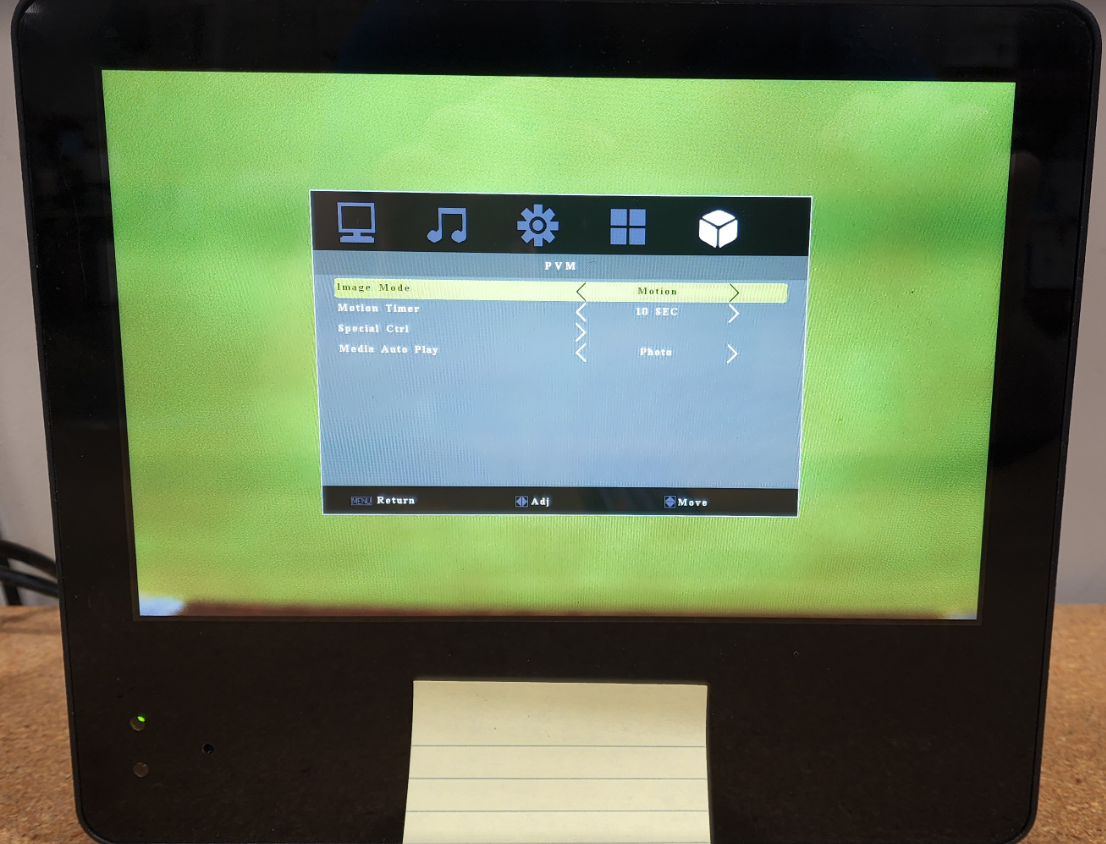
Set Image Mode to Motion.
Motion Timer - Allotted amount of down time before the PVM enables Ad Mode
Media Auto Play - The PVM Will Display Either Photos or Videos for Ad Mode. In This Example, we are using Photo.