If you are trying to view your NVR somewhere other than your home network , such as your place of business or a friend’s house, you will need to forward the ports on your router or you will get 'page not found' errors and messages. Please refer to the "Port Forwarding" section of our Quickstart guides for information on where to find what ports your device is using.
You will then need access to your router. The procedure will vary depending on the make and mode, please refer to the owner’s manual of your router for information on how to forward the correct ports. You need to complete that step before starting the process below or DDNS will not work.
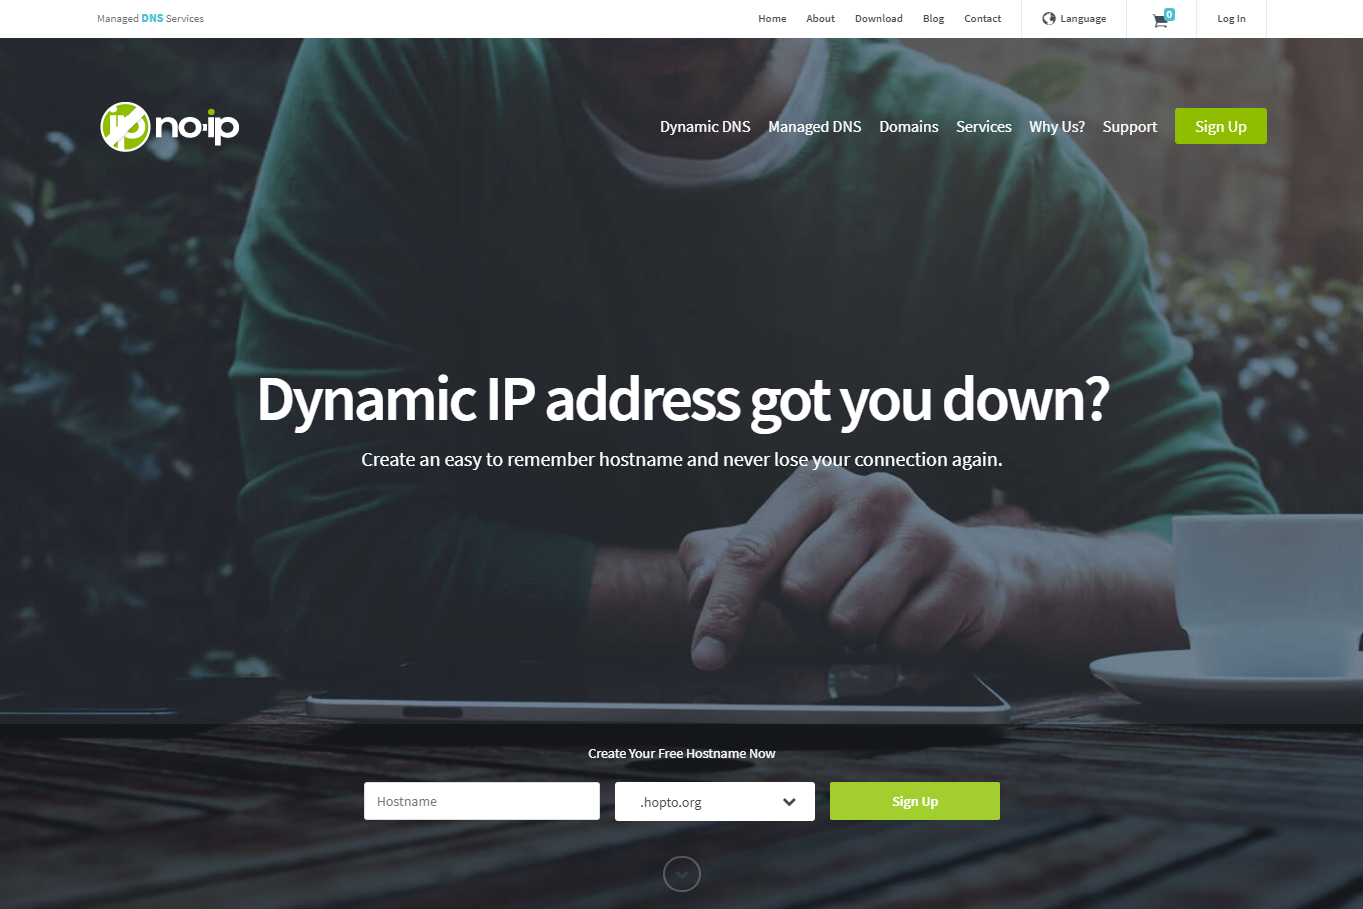
- Go to www.noip.com and click Sign Up on the right-hand corner.
- Next you will be taken to signup page, fill out all the required information. You will enter your email, desired username and password and click "Create My Free Account". Also below the password field you will see your username that will be used to create your DDNS domain (free). You can select a few domains from the drop down list i.e ddns.net, hopto.org etc.
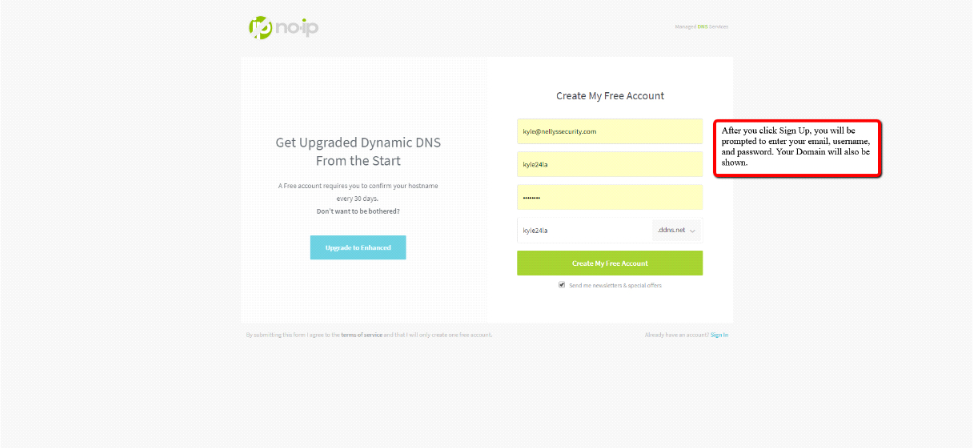
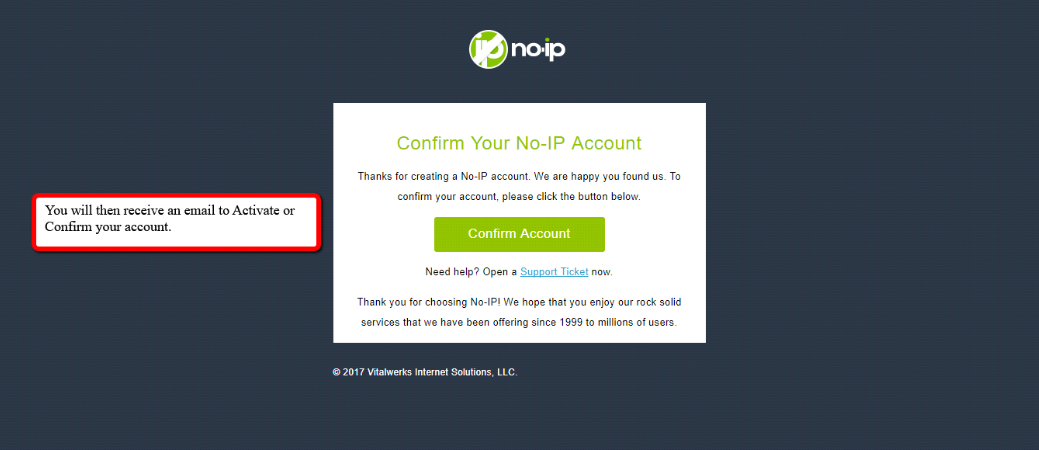
- Once you have all the required information filled out click "Create My Free Account". After clicking that you will receive an email where you will be asked to confirm your account. As shown below click "Confirm Account" button.
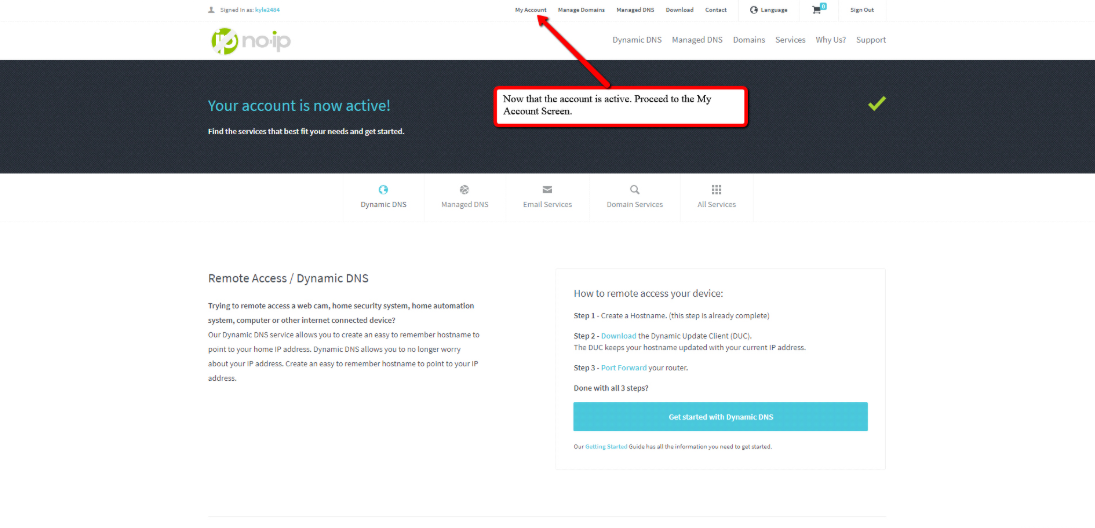
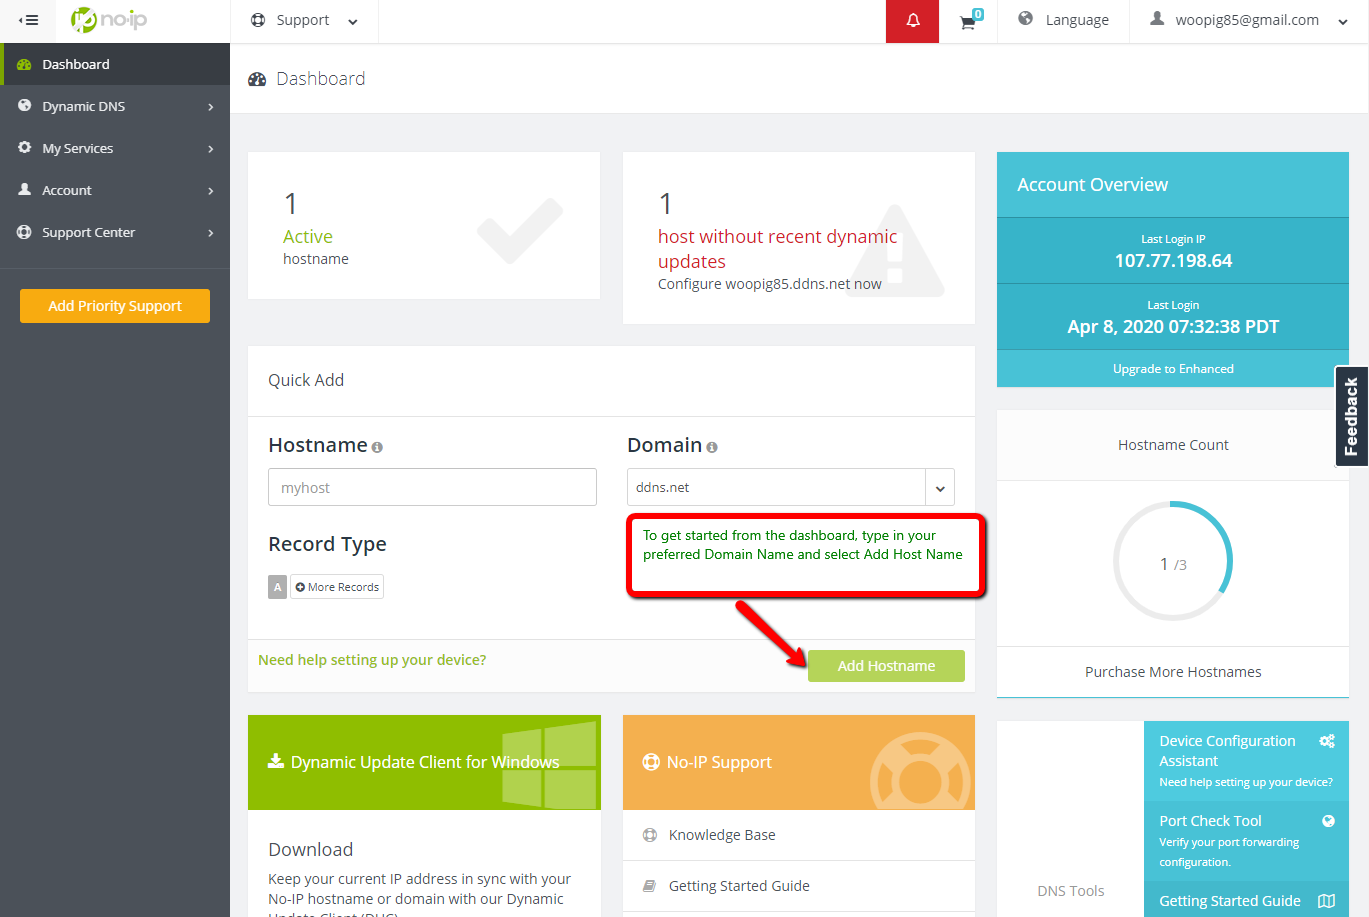
- You should now have a verified account created and should be logged into the NO-IP website. On top of the web page you will see "My Account". Click on that to access your Account Dashboard. Here is where you can create a custom host name by typing it in the "Host Name" box under the QuickAdd section or use the default one created whenever you signed up for the account. For guide purposes, we’ll use the default which will be your username and the extension you chose. In our example, we chose ddns.net.
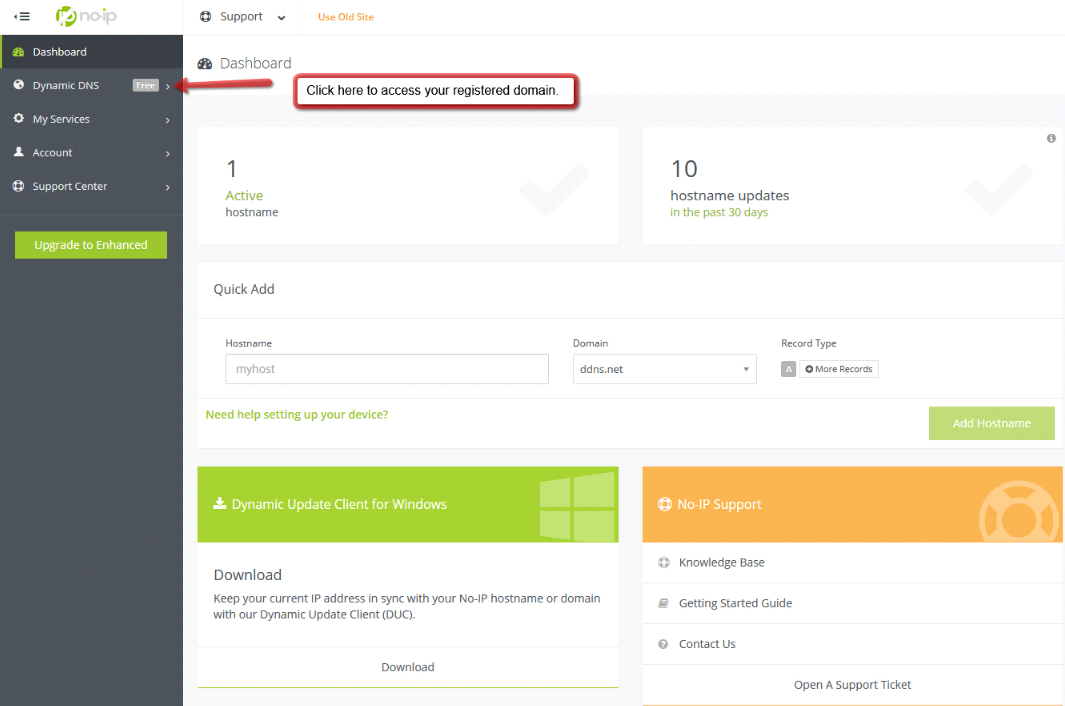
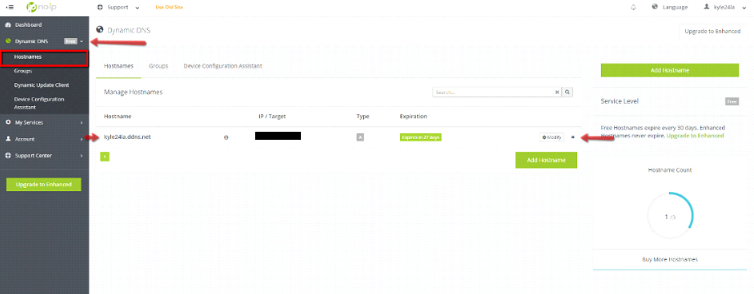
- As shown in the image below the domain was created by default. In most cases it will be your username.ddns.net. Click Dynamic DNS on the left side panel to see your registered domain.
NOTE: You will receive an email once a month from NO-IP to click on a link to keep your account active.
How to Set up DDNS on the NVR
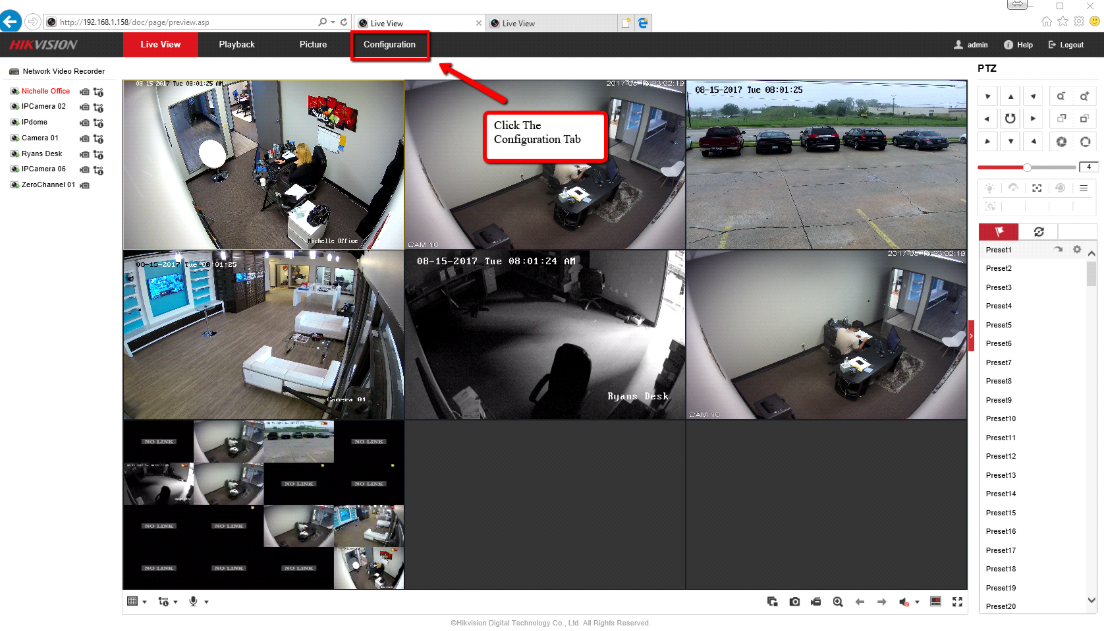
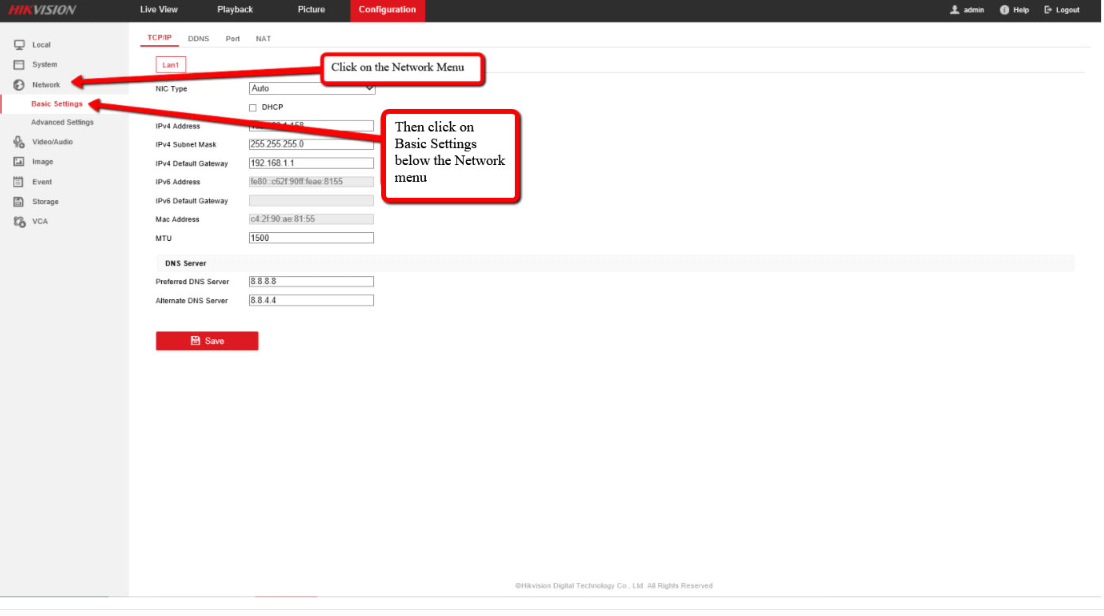
- By now you should have the DDNS domain setup. Log into your NVR using a web browser (Internet Explorer preferred) and click the Configuration tab (as shown below).
- On the left side of the page click Network>Basic Settings.
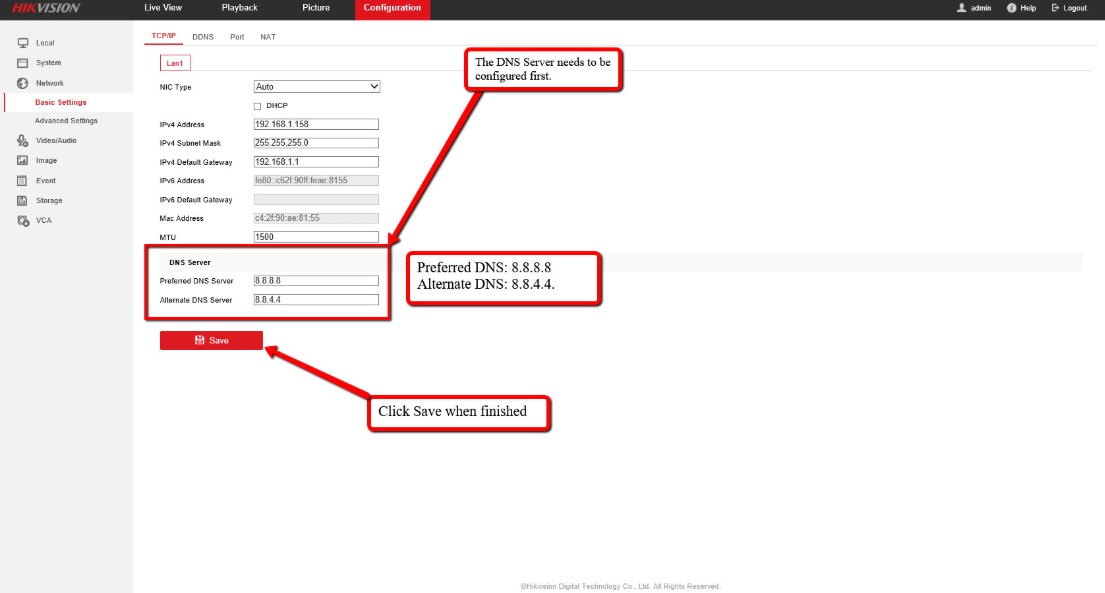
- As shown below we need to ensure that the DNS server addresses are correct. If they are different from what is shown below, change them to the following (do not forget to click SAVE).
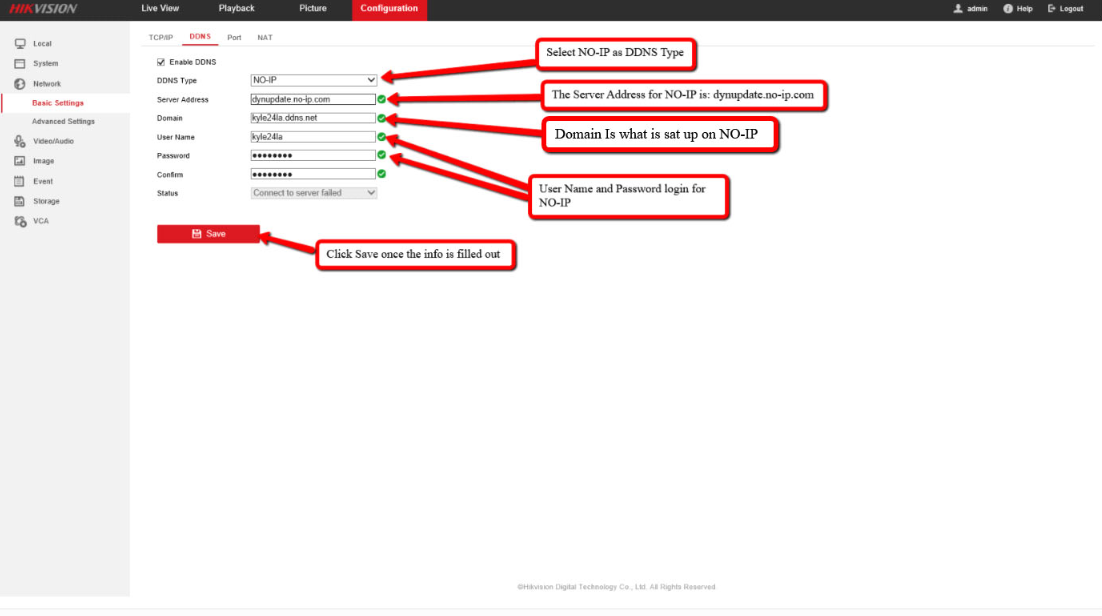
- Click on DDNS tab on the page. Here you will input your DDNS account information as well as the Domain. Click the "Enable DDNS" so you can edit the fields.

- Select NO-IP for DDNS type from the drop down list.
- Server address for NO-IP will always be dynupdate.no-ip.com.
- The Domain section will always be the same as the Domain that was made in step 4.
- Username and Password will be the same as your no-ip website login.
- Do not forget to click SAVE.
NOTE: If the status shows anything other than what is shown below, check your log in information and all the other fields to verify everything is correct.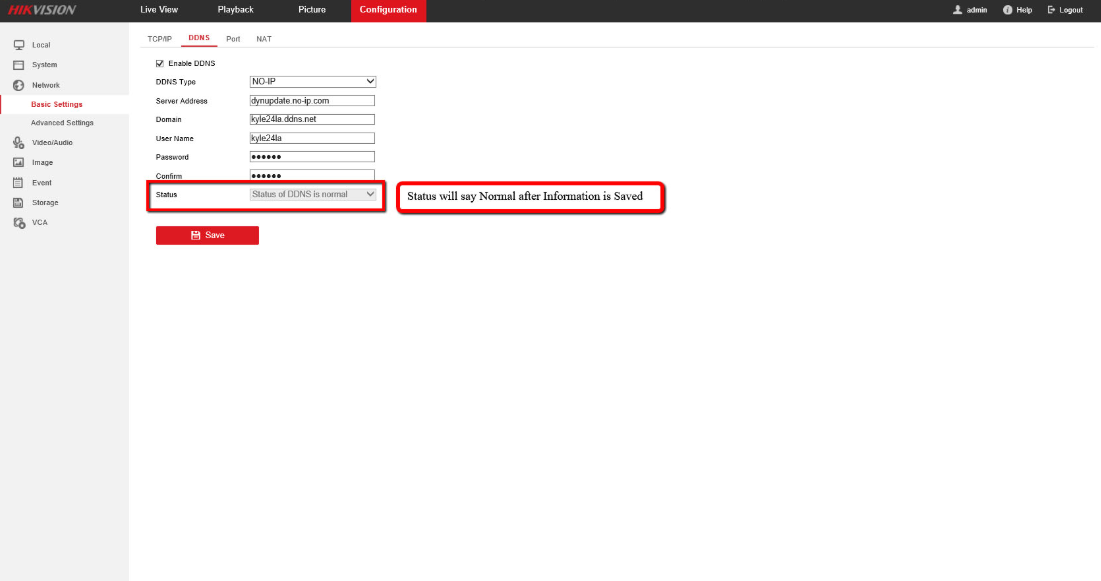
Open a web browser (IE or Firefox) and type in your DDNS web address, you should be able to see the log in screen of the web interface. If you are using any other port besides 80 on the NVR enter that port number with a colon at the end of web address.
Example: 
If you are still not able to pull up your DDNS name, it might be due to your ISP (Internet Service Provider). Some ISPs don't allow a 'loop through' meaning you can't pull up your public IP address while connected to your home network no matter what you try. If this is the case try connecting from an outside connection such as a friend's house, your place of business, or a mobile device with the WiFi turned off.