Having a recording schedule is quite important if you are wanting to record either continuously, event-based, alarm triggered, or a mix of them! This can allow you to record only when needed which can save hard drive space as well as make it easier to find the footage you need.
Step 1. Log Into The Web Interface On The NVR
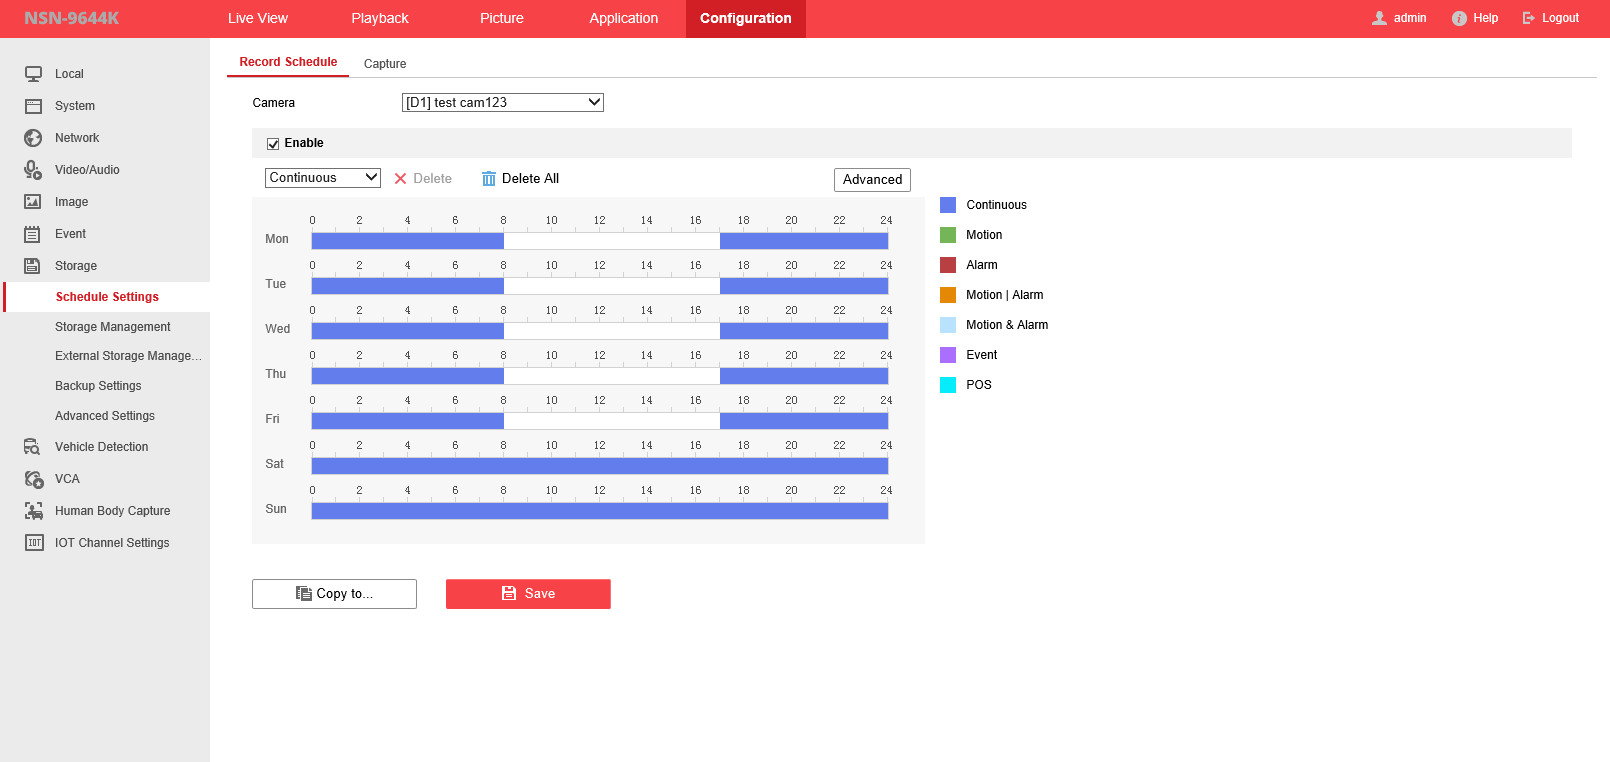
Once Logged into the NVR's web interface, Click on "Configuration" at the top. Then Click on "Storage" then "Storage Settings" tabs on the left side.
Step 2. Scheduling Overview
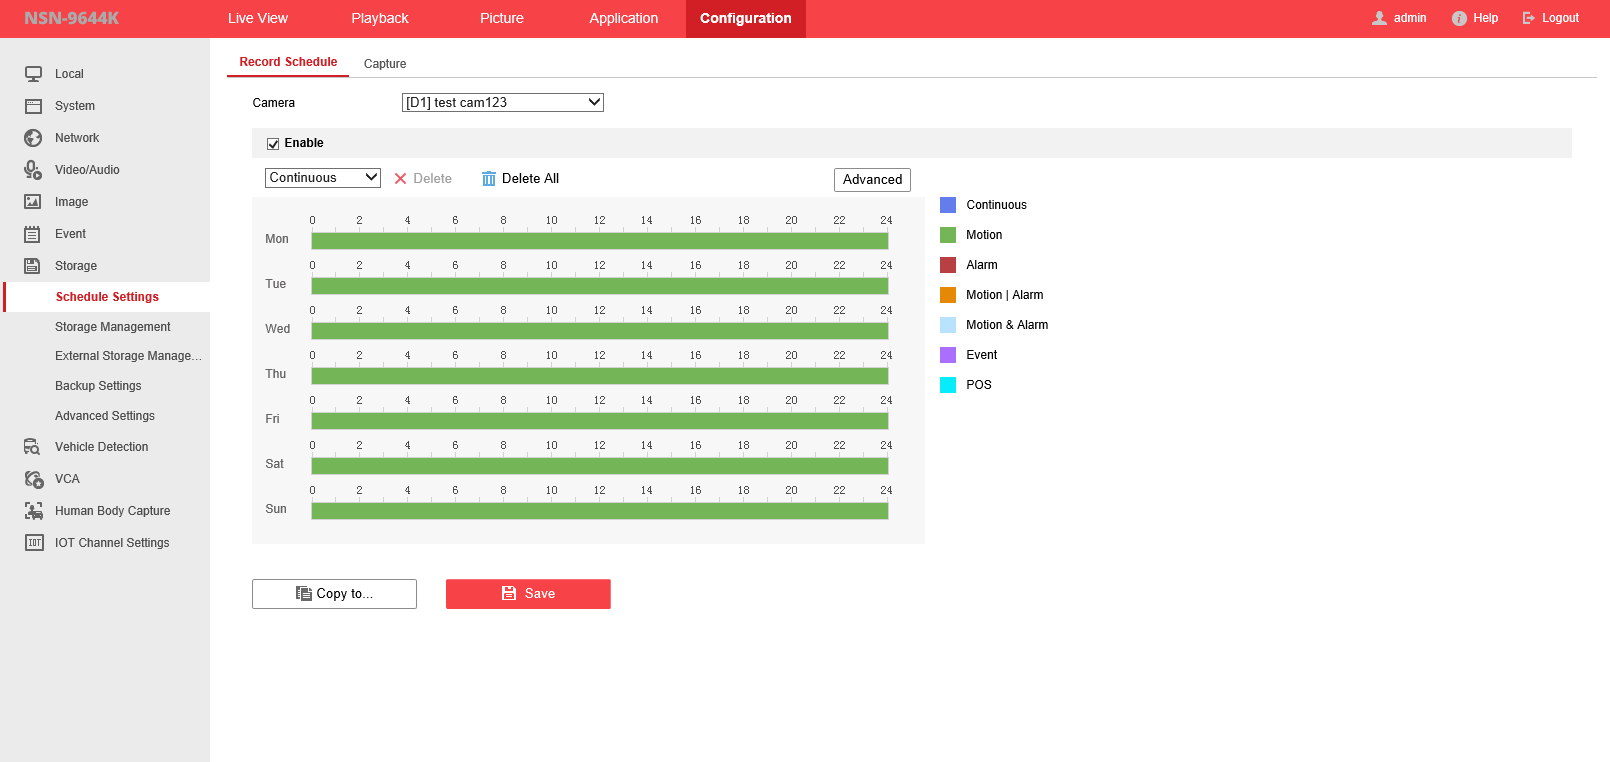
Once the camera has been selected from the Drop Down Menu along the top, The Schedule can now be set.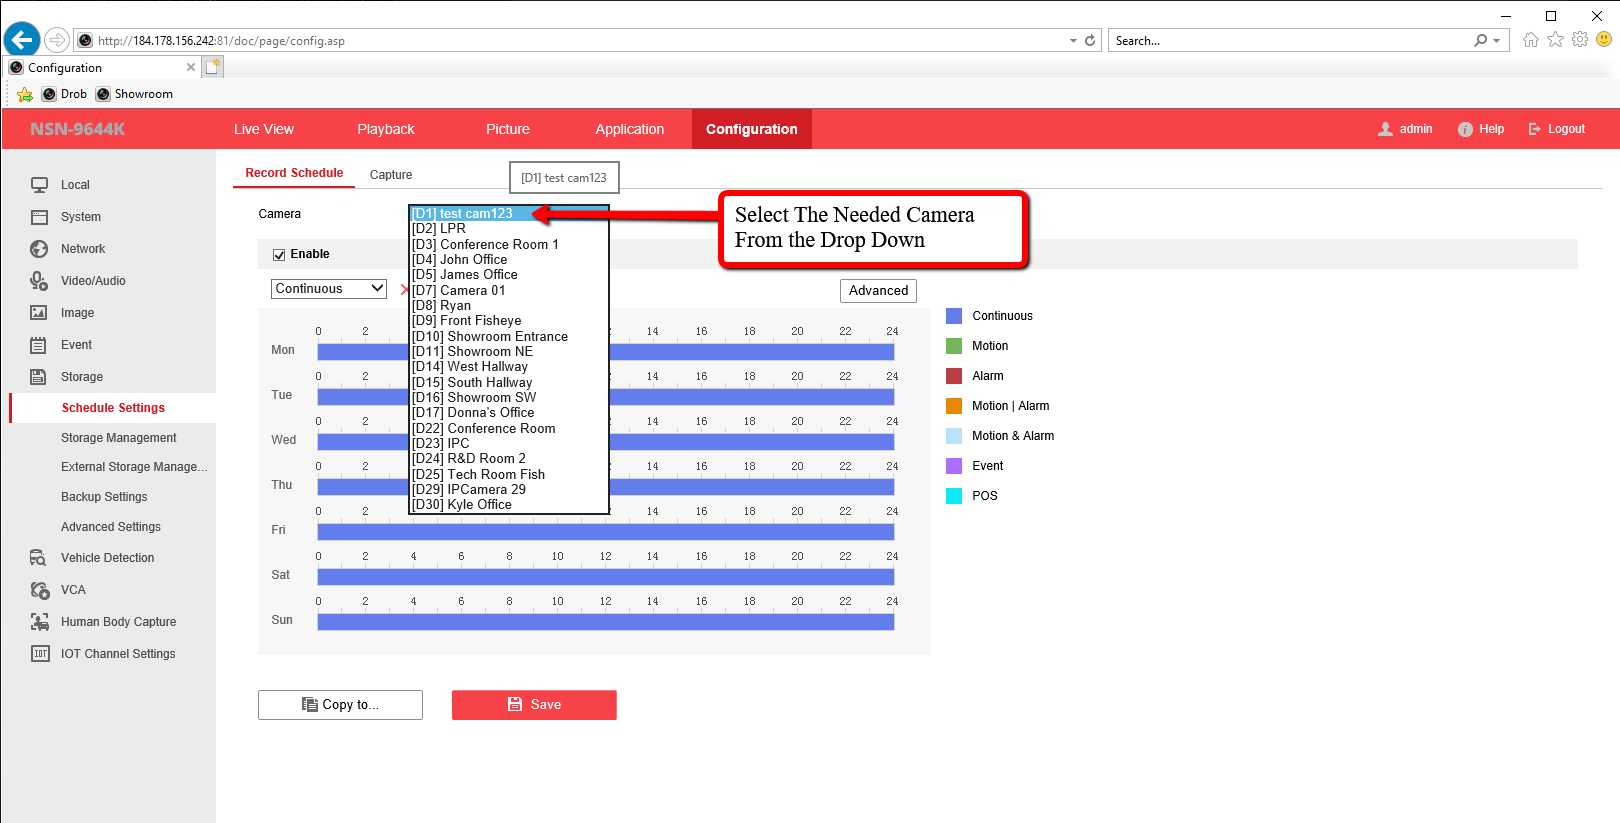
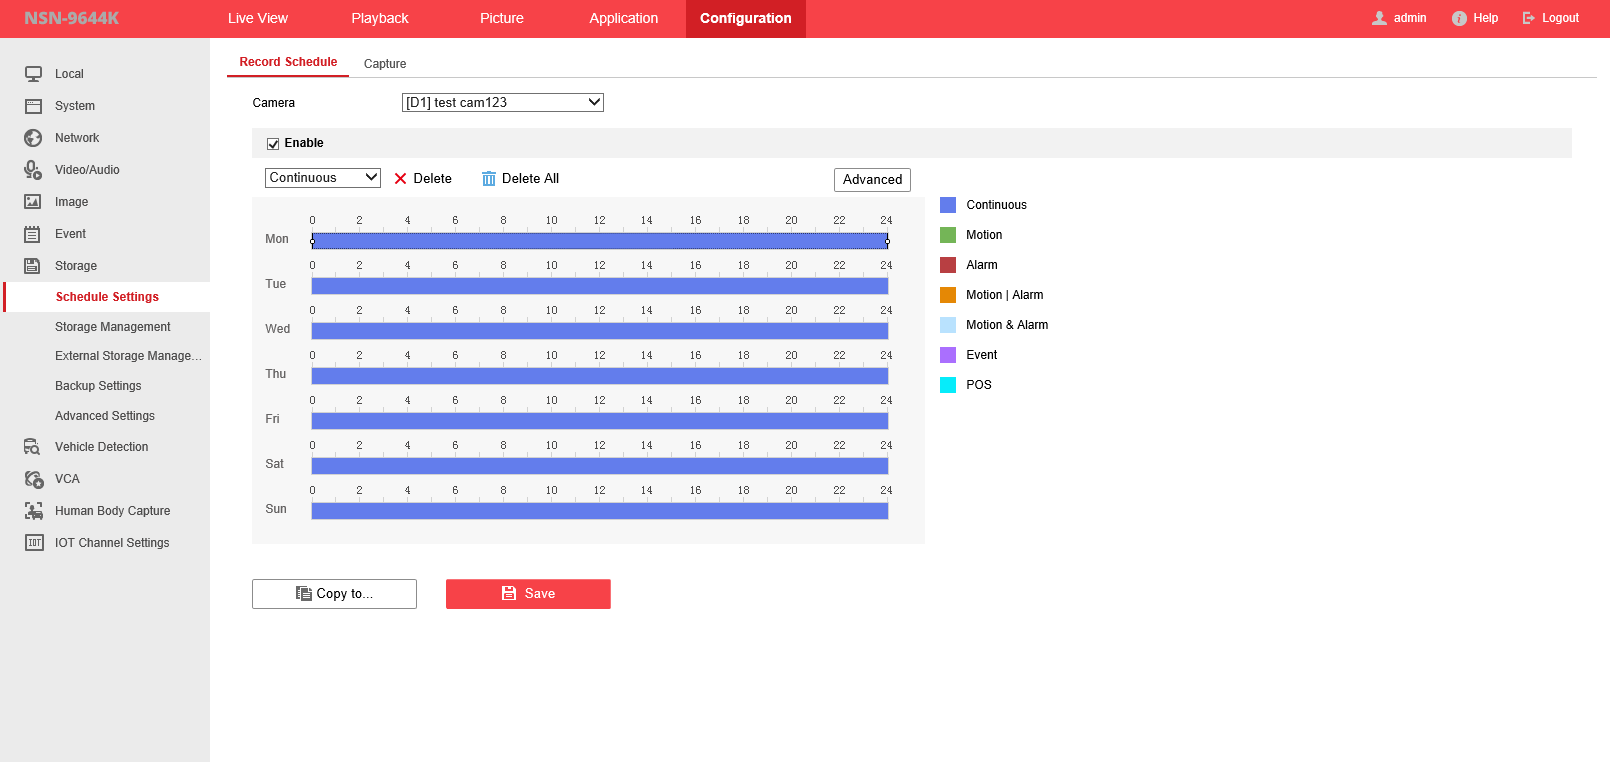
Make sure the schedule is Enabled
Color Legend
Continuous - Dark Blue
Motion - Green
Alarm - Red
Motion | Alarm - Orange
Motion & Alarm - Light Blue
Event - Purple
POS - Aqua
By Default, the Recording Schedule is set to Continuous.
Step 3. Setting A Custom Schedule
In the example below, this NVR is at a business where the owner isn’t concerned about having any recordings during normal working business hours between 8:00am and 5:00pm. Nothing will be recorded during these hours. This will save him some space on his hard drive.
In the next example, the business owner changed his mind and decided that he wanted motion recording during business hours. Therefore, whenever the camera detects any motion during business hours in Green, only motion will activate the recording. It records continuously during all other hours of the day.
This example shows when the business owner changed his mind again. He decided that his hard drive was saving too much data. So now, his NVR only records motion when the cameras see it.

Step 4. Advanced Functions
For Advanced recording features, click the Advanced button.
Below are the Advanced menu options: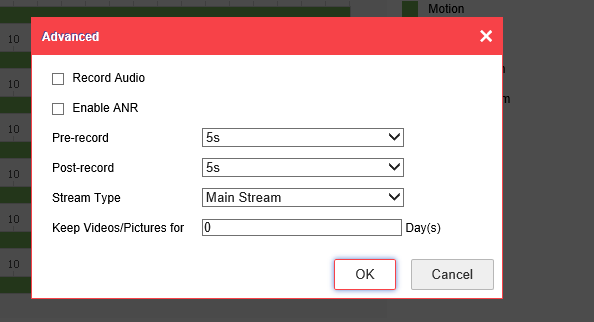
Legend
Record Audio:
Place a check mark in the box if you wish you record both audio and video. Your camera must have an included microphone or a microphone attached.
Enable ANR:
Enable the ANR function to save the recording files in the IP camera when the network is disconnected, and synchronize the files to the NVR when the network is resumed. This feature requires a camera with an SD card slot, and SD card available separately.
Pre-record:
The time you set to record before the scheduled time or event. For example, when an alarm triggered the recording at 10:00, if you set the pre-record time as 5 seconds (5s) the camera begins its recording at 9:59:55
Post-record:
The time you set to record after the event or the scheduled time. For example, when an alarm triggered the recording ends at 10:15, if you set the post-record time as 1 minute (1min), it will record until 10:16
Stream Type:
Select the stream type of recording. Main Stream and Sub Stream are selectable. Most users will select Main Stream for the highest quality recording.
Expired Time:
The expired time is the longest time for a record file to be kept on the Hard Drive. If the deadline is reached, the file will be deleted. You can set the expired time to 0, and then the file will be kept indefinitely and not be deleted. We highly recommend leaving this at the default of 0 as to not lose any recordings.
Step 5. Copying To Other Cameras
For simplicity, you can copy your newly created schedule to any other cameras connected to your NVR